Longmont, CO
 Project Coordinated by Customer Service Team
Siding
Longmont, Colorado
James Hardie Siding Replaces 1978 Masonite Above the Brick on Princeton Drive in Longmont, CO
The Problem
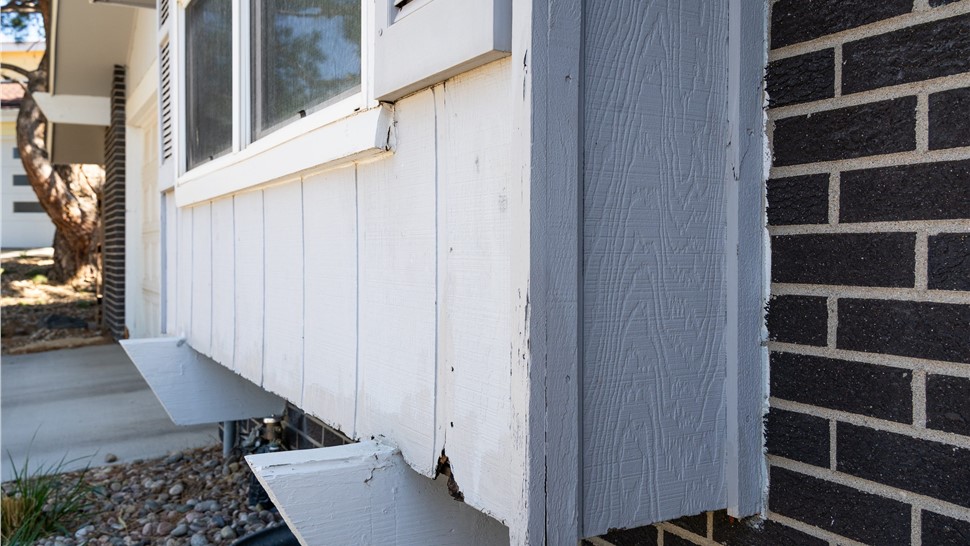
When Lauren reached out to us, the exterior of her 1978 two-story home on Princeton Drive in Longmont was its age. While the lower walls were a dark, sturdy brick in great condition, everything above the brick, including the gables, dormers, and chimney chases, was clad in the home's original Masonite siding. Masonite, also known as hardboard, is a pressed wood-particle product common to Front Range homes built in the 1970s and 80s. However, it was not designed to handle severe moisture absorption or the compounding effects of Colorado's intense freeze-thaw cycles and high UV exposure.
Lauren and her husband were initially looking for a repair quote or a paint job to refresh the look, but the true condition of the existing Masonite siding told a different story. The particle-based material had deteriorated to the point where spot repairs would only be a temporary fix. Moisture damage and structural decay in the substrate meant that patching the worst areas would leave the surrounding aged boards vulnerable to further failure. A full replacement was necessary to restore the home's exterior integrity.
Why It Needed Replacing
After walking the property with their Project Consultant, Diego, it was clear that repairing the existing Masonite siding wouldn’t be a lasting solution. The material itself had failed. Completely removing the Masonite siding let us inspect the sheathing underneath (the wood panels the siding attaches to) and replace any damaged sections with new OSB. On many siding jobs, sheathing problems only come to light after the old siding comes off, and the fix gets added mid-project as a change order that comes as a surprise cost to the homeowner. By building this entire cost into the original scope at the start, Diego made sure that Lauren and her husband knew the full cost before a single board came off the house. The decision to reside the entire home not only meant it would meet current standards with durable James Hardie materials, but also, that the couple could completely reenvision the look and feel of their home. On their very first meeting with Diego, the conversation had already turned to colors and, as we’ll see, the result was a complete transformation.
Construction Start to Finish
As with all WestPro Home Exteriors' siding projects, this project began with a Pre-Construction meeting. This is when our Project Consultants pass the figurative baton to the Production team. From this point, a Project Manager takes responsibility for executing the vision. It is their job to manage the project, communicate with the homeowner if and when decision points arise, and ensure the finished project looks and functions exactly as promised. For this project, Luke was the Project Manager, and he held the Pre-Construction walk-through with the couple. Together, they discussed and agreed upon the details, and Luke explained the process from start to finish. This meant there weren't any surprises as their home turned into an active construction site. The very next week, the siding crew was scheduled and work began.
On day one, the crew tore off the single layer of failing Masonite that covered the upper walls. From there, the walls were re-sheathed and wrapped in HardieWrap, with PVC trim coil flashing at the windows, the belly band, and the transitions to masonry, per James Hardie's installation specs. After setting the foundation for a successful install, the real fun began.
Next we installed James Hardie 8.25” (aka 7” exposure) HardiePlank ColorPlus Cedarmill lap siding in Boothbay Blue across every sided wall. The windows, doors, and outside corners were trimmed with 3.5” Cedarmill HardieTrim in Arctic White while the inside corners were done in Boothbay Blue, blending right into the siding. Where the siding met brick, we installed an 11.25” belly band in Arctic White. We also installed a 2.5” frieze board in Boothbay Blue at the top of the walls, a clean and finished transition detail where a thin piece of trim is placed over an otherwise exposed bead of caulk at the top of the siding to finish the look.
This approach to finished detail was applied throughout the project. We removed the soffit, the underside of the roof overhang, and replaced it with James Hardie soffit in Arctic White. And to finish, at the roofline, we replaced the fascia, the trim board along the roof edge, with double-stacked 5.5” and 2.5” boards in Arctic White. By day two, the crew was well ahead of pace, and by day four, they had finished the siding. Luke walked the couple around the property on May 21st and they were very happy with the result.
The Details
This two-story home on Princeton Drive was built in 1978. The project covered 1,300 sq. ft. of siding wall area, including the trim. The home's 1,009 sq. ft. of brick was left in place and tied in beautifully to the new design. The scope of this reside included navigating 19 window and door openings set into the sided walls along with 7 inside corners and 17 outside corners all in. The work was completed over the course of only four days in May 2025.
What it cost
This project was completed at approximately $28 per sq. ft. installed. That figure covers the full contracted scope, including tear-off, full re-sheath, siding, trim, soffit, fascia, labor, and the City of Longmont permit. This cost includes much more than the siding material alone. The rate reflects a full exterior package, which is why the all-in rate runs above the general market range for a similar project today.
Homeowners considering a similar project today should generally expect pricing between $20.00–$22.50 per sq. ft. installed for James Hardie 8.25" HardiePlank Cedarmill lap siding with a ColorPlus factory finish, including tear-off of one layer of existing siding, housewrap, flashing, standard 3.5” trim, disposal, and labor.
A few details on this specific project explain the gap between these two prices. The first, and most important, is the fact that this project required a full re-sheath. Because many homes have existing sheathing that can be reused or spot replaced where necessary, our standard siding pricing does not include sheathing, which typically runs $85 to $110 per sheet installed.
In addition to the siding, this project also addressed the soffit and fascia. We price soffit and fascia on their own basis, so bundling them into one per-foot number pushes the siding rate up. For this home, not only did we replace the soffits but we also installed the double-stacked fascia detail. Finally, this design called for wider accent trim and additional trim details. The design included an 11.25” belly band and a frieze board. Standard 3.5” HardieTrim runs about $5.00 per lineal foot installed, while 11.25” trim runs about $15.25 per lineal foot. The City of Longmont permit on this job was between $850-$950, which is well above what many Front Range municipalities charge. This cost has been included in the rate above.
Pricing varies with the condition of the sheathing once the old siding comes off, whether soffit, fascia, or gutters are part of the job, the size and style of trim, how much of the house is siding versus brick or stone, home height and site access, local permit costs, and current material and labor prices. You can see how each of these adds up in our 2026 Colorado siding cost guide. Pricing reflects WestPro project data and current Colorado Front Range supplier costs.
An accurate price requires a site inspection and project-specific estimate. The best next step is a free, no-obligation inspection.
The Result
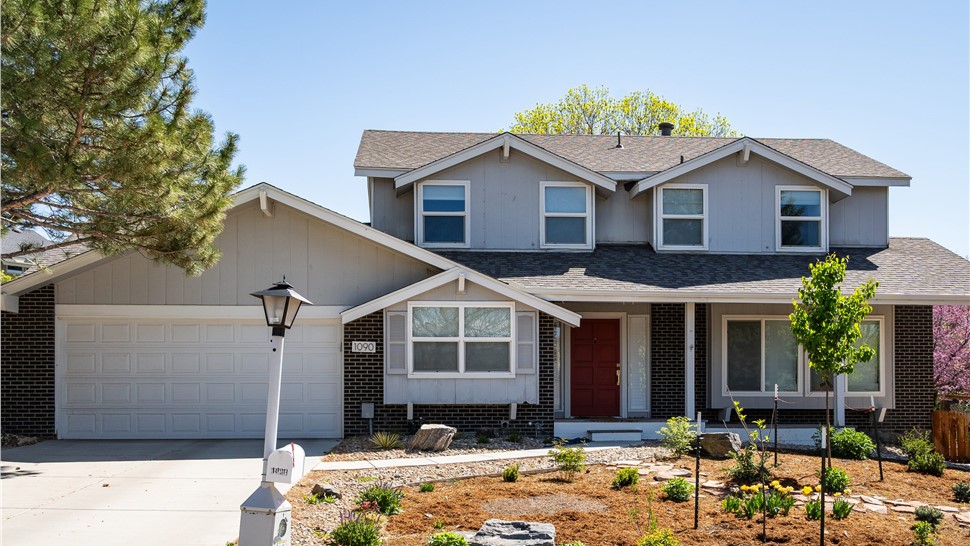
Finished in May 2025, this home now features a refreshed and durable exterior with James Hardie siding in Boothbay Blue and Arctic White trim. A job that started as a repair quote became a full replacement, with the full scope, including the sheathing, planned from the start. We removed the aging Masonite siding and replaced it with James Hardie fiber cement which provides a unified, updated look that will protect the home for years to come. Projects like this are common throughout Longmont, where older homes with deteriorating particle siding need full exterior replacements to prevent moisture damage.
Lauren was thrilled with the final outcome and said in a 5-Star Google Review: "WestPro did an amazing job on our siding. Diego Villalon was our project consultant and Luke Cross was our project manager and both were very friendly and helpful. Luke was available throughout the construction process to answer questions and address concerns. The work got done very efficiently, and it looks amazing! WestPro overall was extremely organized and efficient in executing this project."
The Reveal
Lauren's home splits its exterior almost evenly between two materials. Before, the only real visual distinction on the home was the material change from brick to siding. The dark brick wrapped the lower walls while light gray Masonite covered everything above it, including the second story, the gables, two front dormers, and the chimney chases. The existing red front door did its best to add a hint of personality to the home, but set back under the porch, it was the Masonite that dominated. The gray siding sat quietly against the brick, and with no strong line between the two, the upper half of the house read as one flat block of color. The lack of distinction and personality of the siding ended up hiding an otherwise architecturally interesting home. There were no clear material changes or shifts in color to highlight the home’s unique lilting roofline, repeating dormers, and classic, but asymmetrical layout.
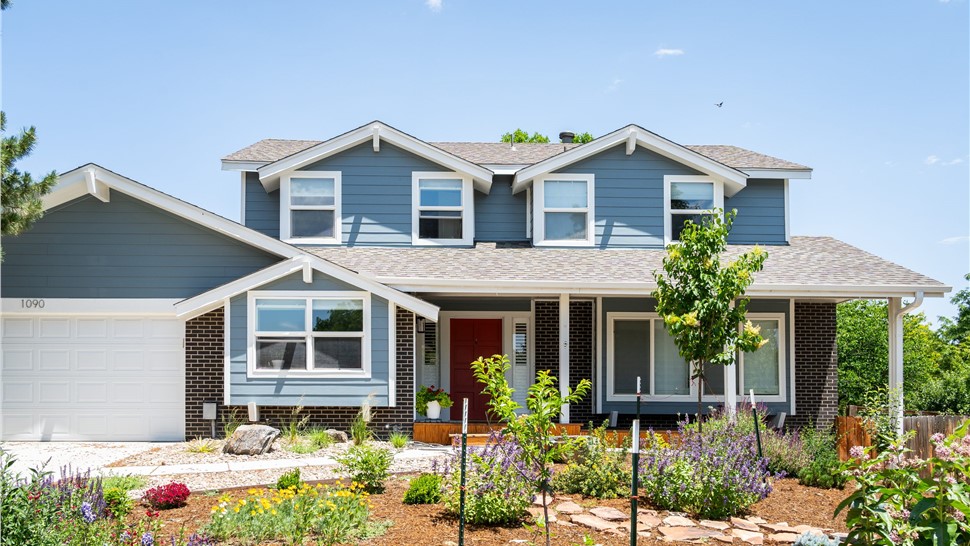
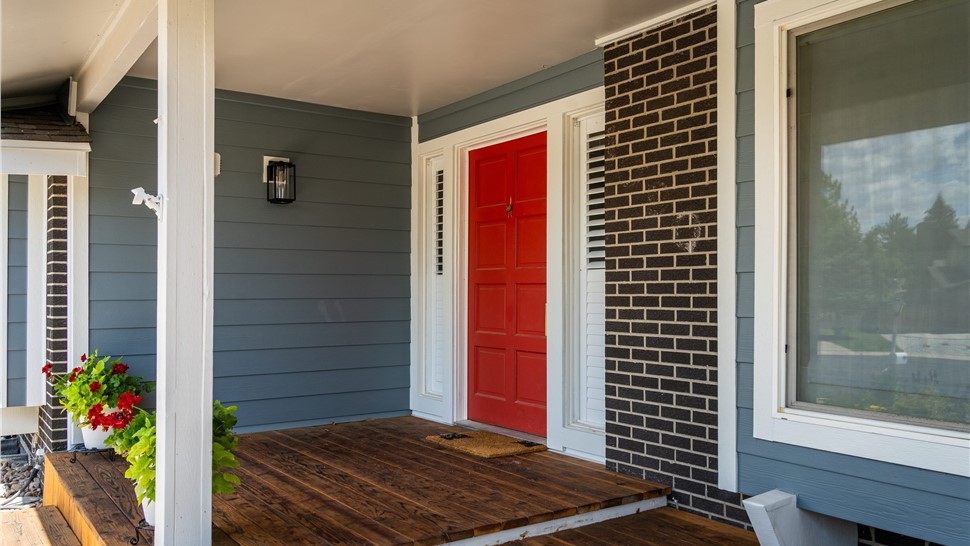
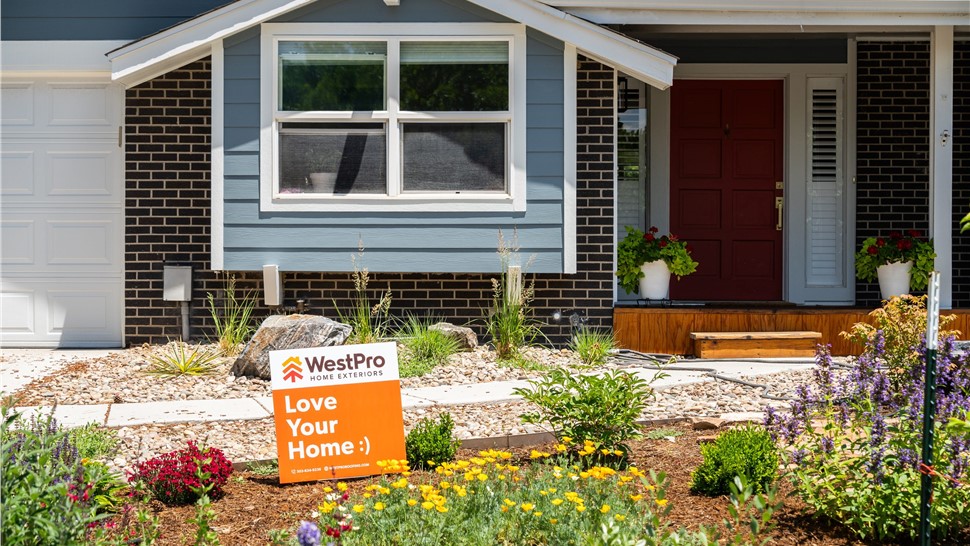
The new exterior replaced the Masonite with Boothbay Blue HardiePlank Cedarmill lap siding and punctuated this richness with crisp Arctic White trim. The blue gives the upper walls a clear personality of their own and draws the eyes up to the home’s roofline. Instead of a gray that faded into brick, the blue offers fresh relief, contrasting the brick so that each material stands out independently. The Arctic White belly band draws a crisp line exactly where the siding meets the brick, so each material reads as deliberate. To tie it all together? Well, of course, the beauty of double-stacked fascia. This detail, though often overlooked, serves as the cherry on top with this design. The white fascia and soffit outline every roof edge, which gives the dormers and gables sharper shape from the street. The home, with its gabled roof accents, rafter tails, and overhung eaves, reflects a craftsman-adjacent ethos that the fascia detail effectively leaned into.
Most of these decisions took shape at the inspection, when Lauren and Diego started talking colors. The choice to keep both the frieze board and inside corners the same Boothbay Blue as the siding allows the white details reserved for the trim to effectively frame the house, rather than scattering it across every joint. The brick and the red front door stayed as they were, and the new palette sits, as designed, with both.
On Princeton Drive, the brick finally has a partner: a clean white line at the top of the masonry, and a blue upper story that gives a 1978 house a look of its own.
About the Author: Lily Coleman helps homeowners imagine, visualize, and translate their vision into a finished exterior, one that reflects their budget and values, as a Design Consultant at WestPro Home Exteriors in Longmont, CO. She works to help homeowners make informed decisions for a finished project that feels like home.
About WestPro Home Exteriors: Licensed and insured roofing, siding, gutter, and window replacement contractor in Longmont, CO. GAF Master Elite Roofing Contractor. James Hardie Elite Preferred Contractor. Pella Windows Platinum Certified Contractor. Serving Longmont, Boulder, Denver, Fort Collins, Loveland, Estes Park, and the surrounding Colorado Front Range.
Read More