Boulder, Colorado
 Project Coordinated by Customer Service Team
Roofing
Westminster, Colorado
Keeping the Trim They Loved: A Full Exterior Update on Otis Street
The Problem
This was a two-phase project. Dave and Joyce first called out WestPro Home Exteriors to complete a siding inspection on their home. We found that their home's original T1-11 siding was failing at the brick veneer after decades of sun exposure and woodpecker damage, and handled a full siding replacement for them first. Once the siding was done, they called us back out for a second, separate project. This time, they wanted a full roof replacement, because the same initial inspection had also flagged the roof as reaching the end of its useful life. Though they weren't initially prepared to do both, after sitting with their options for a moment they realized they liked working with us and decided to go ahead with the roof replacement. What follows covers both phases of this exterior transformation.
Why it needed replacing
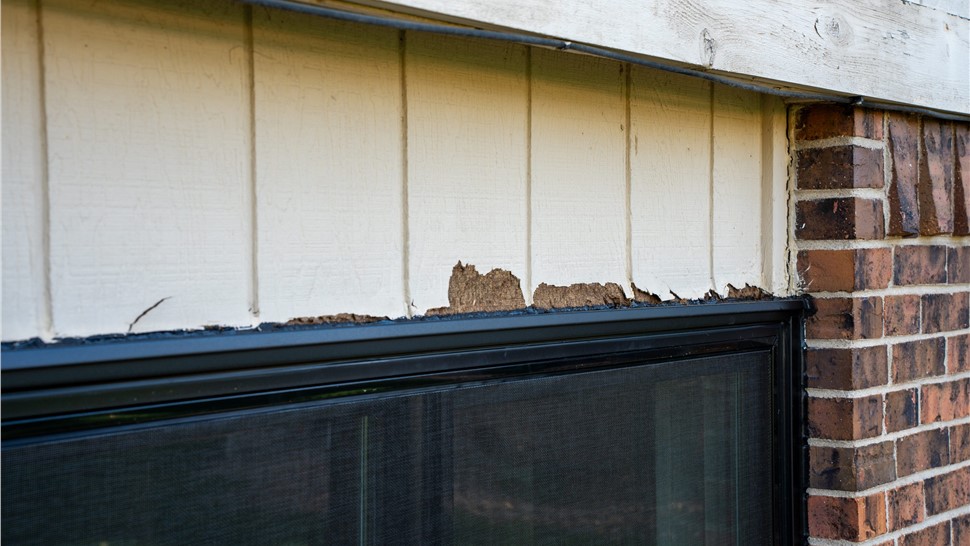
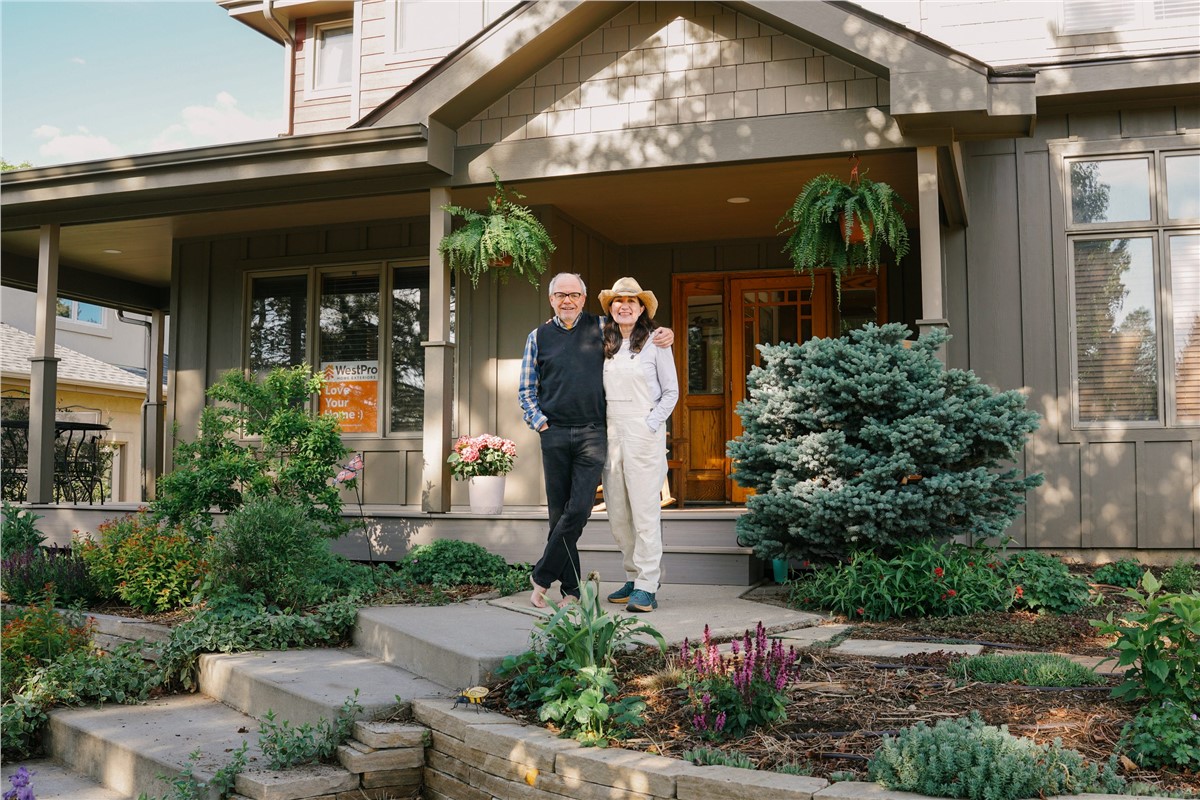
Dave and Joyce have lived in their two-story home on Otis Street in Westminster for about 18 years. Built in 1977, the house still had its original T1-11 siding, and years of exposure had taken a toll. T1-11 is a type of wood siding panel, usually plywood or OSB, with vertical grooves cut into the face to mimic the look of individual boards. It comes in large sheets (commonly 4x8 or 4x9 feet) that get nailed straight to the wall, so a crew can cover a lot of wall area quickly compared to installing individual boards or lap siding. The home faces east and west, which means both sides had taken on a lot of direct sun over the decades. In addition to this extreme sun exposure, they had also been dealing with another challenge that can sometimes come with the territory in our Colorado climate: woodpecker damage.
They were in the middle of replacing their own windows when they reached out to WestPro Home Exteriors for a siding inspection. Because they were interested in James Hardie, they called us out to estimate the cost of a complete siding replacement.
At the inspection their Project Consultant, Alex, found the original T1-11 siding was “riding loose” at the junction where it met the home's brick veneer, meaning the panels had come loose from the wall and were shifting instead of sitting flush, a sign they had deteriorated over the years. This matches the main trade-off you'd expect with T1-11 siding. That is: durability. Because this siding type is wood-based and the panels are typically nailed directly over the studs or sheathing with minimal drainage gap, it's prone to moisture absorption, rot, and warping over time, especially at seams and where it meets other materials like the brick veneer here. That's exactly what we found here. As a result of decades of exposure, the panels had shifted and were either sitting on or pressing up against the brick veneer in a way it wasn't originally installed. The same inspection also flagged the age and damage to the roof, which Dave and Joyce addressed with WestPro the following month as a second project.
With the addition of the roofing scope, this became a full exterior update covering siding, soffit, fascia, gutters, and roofing. Coming out of the initial inspection, Alex's recommendation covered the whole exterior: siding, soffit, fascia, gutters, and roofing, driven by the aging T1-11 siding failing at the brick junction and an aging roof system. But, as the couple wanted, we went in stages, starting with siding. Simply repairing the existing siding would have left older, weathered materials in place that are likely to fail soon. By replacing the entire system we ensured that the entire system would be unified and durable with all new James Hardie siding. Similarly, for the roof, a repair wouldn't have been a lasting fix since the existing roof system was reaching the end of its useful life across the board, not just in isolated spots. Replacing the entire roof allowed us to bring every layer up to current standards, ensuring the home was protected from the ground up.
Our steps on a multi-trade project
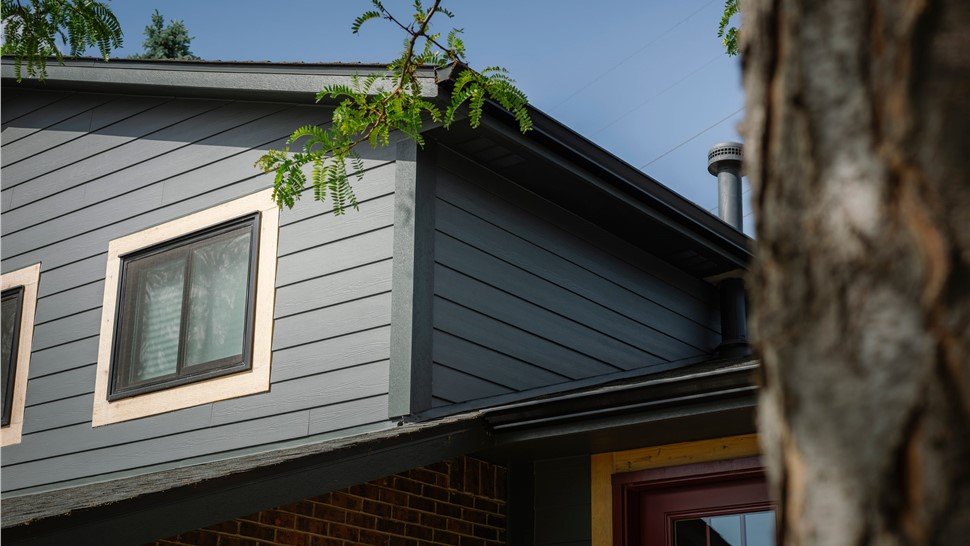
Siding, soffit, fascia, and gutters: Our crew removed the one existing layer of T1-11 siding along with the old gutters, downspouts, soffit, and fascia. Once the walls were open, it was clear the sheathing needed a full re-sheath rather than a spot repair, so a change order was written to install 1/2" OSB across all 974 sq ft of wall area before the new siding went on. We then applied the necessary weather barrier before installing the James Hardie 8.25-inch HardiePlank Lap Siding in Night Gray as the primary cladding.
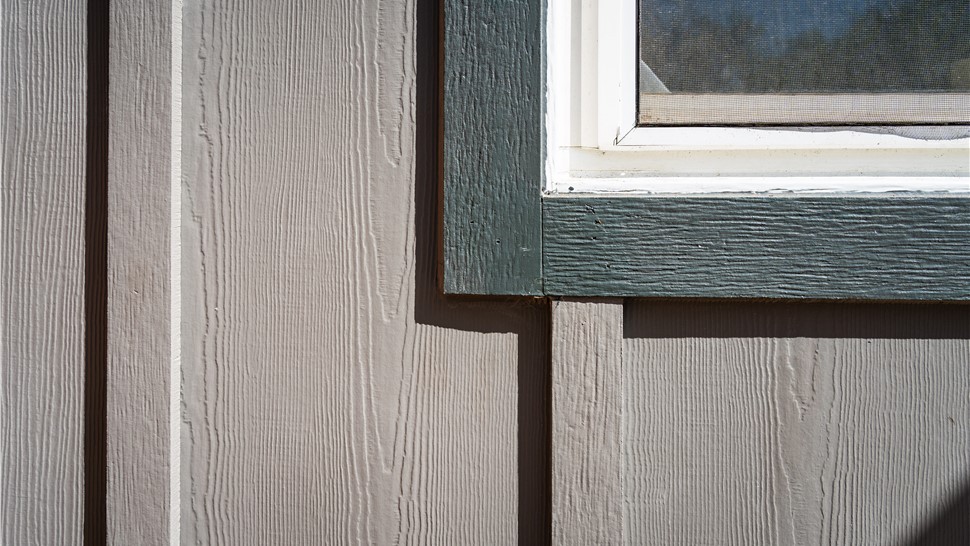
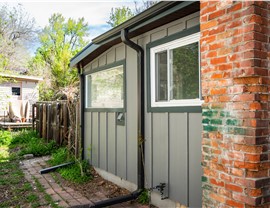
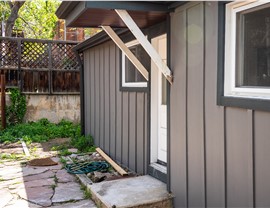
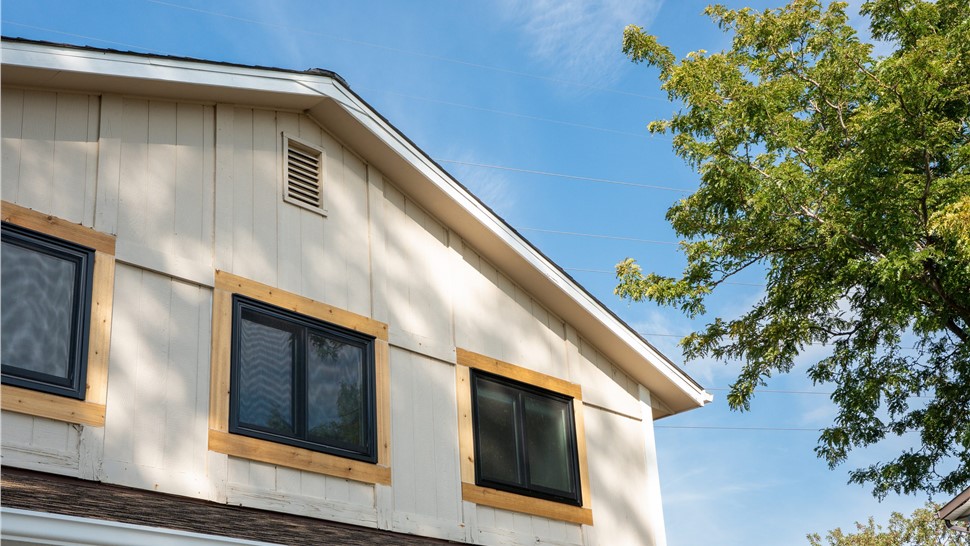
One detail on this job mattered a lot to Dave and Joyce, and it's not something we see very often. They loved their existing wood trim and wanted to keep it, rather than have everything pulled and replaced. We understood their desire, and worked from a plan marked up specifically for this home. This plan indicated exactly which trim was staying and which openings were getting new Cedarmill trim in Iron Gray, so the crew knew precisely what to leave alone and what to swap out.
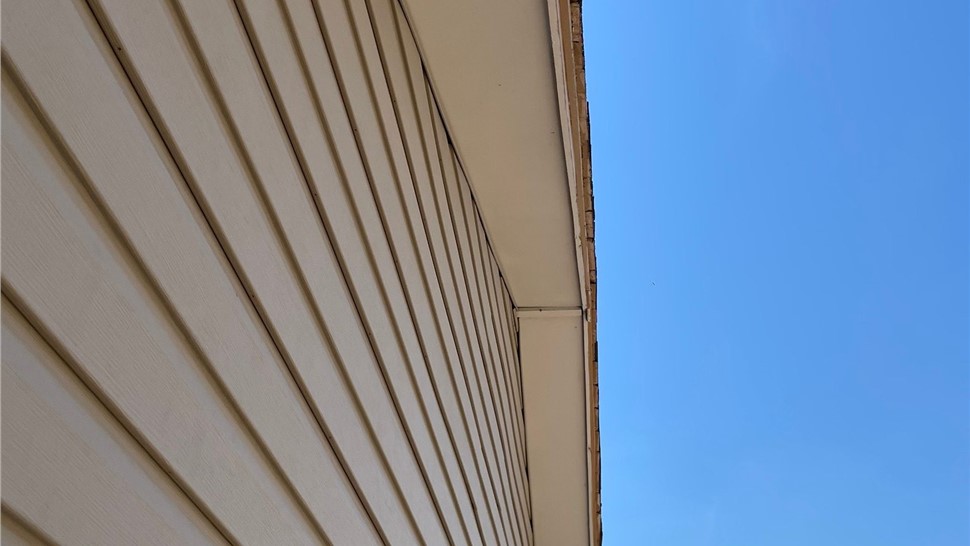
We replaced the soffit and fascia on the main structure to match: James Hardie Iron Gray, including new 8" x 16" aluminum soffit vents. After addressing the home's ventilation through the soffits, we were able to terminate the gable vents on the old siding and re-side the area with fresh lap siding for a cleaner finished look. We wrapped the garage door jamb in Iron Gray trim coil and finished the look with all new 5" seamless gutters and 2" x 3" downspouts in Black, to replace the old system.
Roofing: About a week after the siding project wrapped, Dave and Joyce signed a second, separate contract with WestPro after realizing that a full roof replacement on the main house was the best long-term choice. We started the next project shortly after, at the beginning of November. The crew tore off the one existing layer of shingles and installed GAF ArmorShield II Class 4 impact-resistant shingles in Charcoal, along with Charcoal Gray drip edge flashing and Territone-colored step flashing. We also updated the entire ventilation system. On the roof, we addressed the exhaust side of the ventilation system that hadn't yet been addressed by the added intake vents in the soffits. We added SnowCountry ridge vents, Cobra IntakePro eave intake vents, and two additional Broan vents as well as a headwall flashing for the evaporative cooler.
Proper attic ventilation keeps warm, moist air from getting trapped under the roof deck, which helps prevent ice damming in the winter, reduces heat buildup that can shorten shingle life in the summer, and is required to keep the GAF shingle warranty in effect. Finally, we also completed the State Farm Class 4 homeowner discount paperwork for Dave and Joyce afterward, since homeowners with impact-resistant shingles like these might qualify for an insurance premium discount.
Because the siding project had already wrapped up before the roof began, the roofing crew had to pull up the Iron Gray trim coil running along the roofline (installed during the siding job) to get proper step flashing in per code, then put it back. Everywhere but the garage, it went back into place cleanly. On the garage, the coil had to be reattached differently to work around the step flashing, and the fix that was called in over the phone didn't hold up once seen in person. At the walkthrough the next day, the Project Manager noticed this detail, raised it with Dave and Joyce himself before they had a chance to bring it up, and had a crew come back out the week of Thanksgiving to replace the coil properly. Because we wanted to make sure it was done correctly, WestPro covered the cost of this added step. A final walkthrough on December 1 confirmed everything looked right, and Dave and Joyce were, in the Project Manager's words, "gushing" about the company and the crew.
Home, by the numbers
This two-story home on Otis Street in Westminster was built in 1977 and has a footprint of about 1,522 sq ft. The siding project covered roughly 744 sq ft of siding facade (974 sq ft including trim and openings), plus new soffit, fascia, and gutters on the main structure, and was completed in October 14, 2025. The roofing project covered approximately 1,864 sq ft of roof area and finished by December 1, 2025. Alex served as the Project Consultant on both phases, with Luke as Project Manager on the siding project and Zach as Project Manager on the roofing project.
Price Context- Siding
This project was completed at approximately $35 per sq ft installed. That figure represents more than just the standard material price for James Hardie ColorPlus lap siding and labor. It also includes scope that's not normally included in the siding price per square foot alone. In the case of this siding renovation, the scope also included tear-off, additional OSB to re-sheath the home in places as well as both the labor and material for a complete soffit and fascia. This is why this specific home's all-in rate runs above the general material range below.
Homeowners considering a similar James Hardie Horizontal Lap siding project in Colorado in a factory-finished ColorPlus color should generally expect pricing in the range of $20.00–$22.50 per sq ft installed for the core James Hardie ColorPlus lap siding product alone.
Pricing on a project like this varies based on how much of the wall sheathing needs replacing once the old siding comes off, which is exactly what drove the OSB change order here; new sheathing typically runs about $85–$110 per sheet installed once it's needed, and this project called for 30 sheets across the whole home. WestPro performs a core sample of the existing siding at the pre-construction meeting on every siding job specifically to catch sheathing issues like this ahead of time; this was one of the less common cases where the full extent wasn't apparent until the walls were actually opened, despite having checked the home in the places we're normally likely to catch problems like this. Other factors that move pricing include whether the job also includes gutters, fascia, and soffit rather than siding alone (as this one did), the home's height and number of stories, site access, and current material and labor costs. Pricing reflects WestPro project data and current Colorado Front Range supplier costs.
Price Context- Gutters
The gutter portion of this project ran at approximately $12 per linear foot installed. This covers full removal of the old gutters and downspouts and installation of new 5" seamless aluminum gutters and 2" x 3" downspouts in Black.
Homeowners considering a similar 5" Seamless Aluminum Gutters project in Colorado should generally expect pricing in the range of $9.20–$13.55/LF installed. Right in this range. Gutter pricing varies based on the condition of the fascia they're mounted to, the number of stories and roof complexity, whether the job is bundled with a siding project already underway and current material and labor costs. Downspout count and length also play a bigger role than most homeowners expect, especially on a two-story home such as this one.
Price Context- Roofing
The roofing portion of this exterior update was completed at approximately $9 per sq ft installed. That figure covers full tear-off and disposal of the one existing shingle layer, GAF ArmorShield II Class 4 shingles, drip edge and step flashing, the upgraded ridge and intake ventilation, and labor, on a separate contract from the siding project.
Homeowners considering a similar GAF ArmorShield II Class 4 shingle roof in Colorado should generally expect pricing in the range of $7.18–$7.60 per sq ft installed for the core roofing product.
A June 13, 2026, blog we wrote about roofing costs breaks down the topic and goes into much greater detail about what factors impact the final cost of a roof in Colorado and what we consider to be a “basic roof,” which we normally consider to include GAF Timberline Natural Shadow architectural shingles. This is how we define the term:
“The average roof replacement cost listed above applies to an average 2,000 Sq Ft Colorado home with approximately 2,500 Sq Ft of roof area, and assumes full tear-off and disposal of one existing shingle layer, synthetic underlayment, standard flashing, pipe jack replacement, box vents, building permit, and installation of a GAF Timberline Natural Shadow architectural shingle, what we call a Basic Roof. Ice & water shield and ridge vent are recommended upgrades priced separately below.”
This project's rate runs above the cost of our Basic Roof because the scope included an upgrade to Class 4 shingles, as well as the upgraded ventilation system, a SnowCountry ridge vent and Cobra IntakePro eave intake vents, which go beyond standard ventilation.
Other factors that move roofing pricing include roof pitch and complexity, whether the decking needed to be replaced once the old shingles came off, the number of roof layers removed, and current material and labor costs.
Pricing reflects WestPro project data and current Colorado Front Range supplier costs. A proper cost assessment for a repair or replacement on your home's roof, gutters, or siding will require a detailed inspection of the home, where we can evaluate the existing conditions and make recommendations that are tailored to your home's site-specific needs.
The best next step to understand what a similar project would cost on your home is a free, no-obligation inspection with one of our Project Consultants.
The project, summarized
Between the two projects, Dave and Joyce's home got a full exterior update: siding, soffit, fascia, and gutters as well as an all new roof. The new James Hardie siding has not on;y refreshed and protected the exterior but also provides a clean, uniform look with the original trim Dave and Joyce wanted to keep preserved right where it was, and seamless aluminum gutters to ensure effective water management. The roof carries GAF ArmorShield II Class 4 shingles in Charcoal with upgraded ventilation.
Aging T1-11 siding failing at brick junctions after decades of sun exposure is a common reason homeowners in older Westminster neighborhoods reach out to WestPro, and it's common for a siding project like this one to lead into a roof replacement once the rest of the exterior is addressed.
Thinking about a similar project for your home? Schedule a free inspection with WestPro to get started!
A home refresh, working with the existing charm
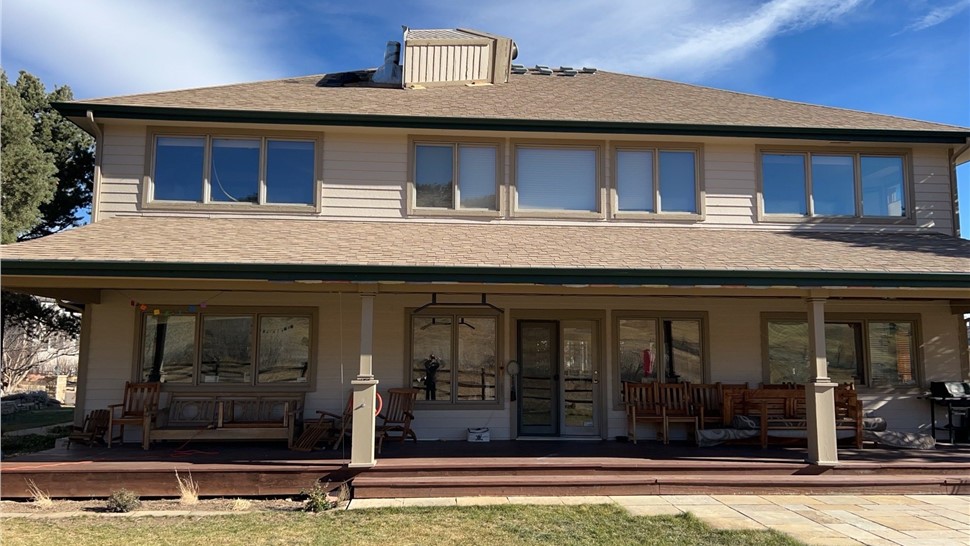
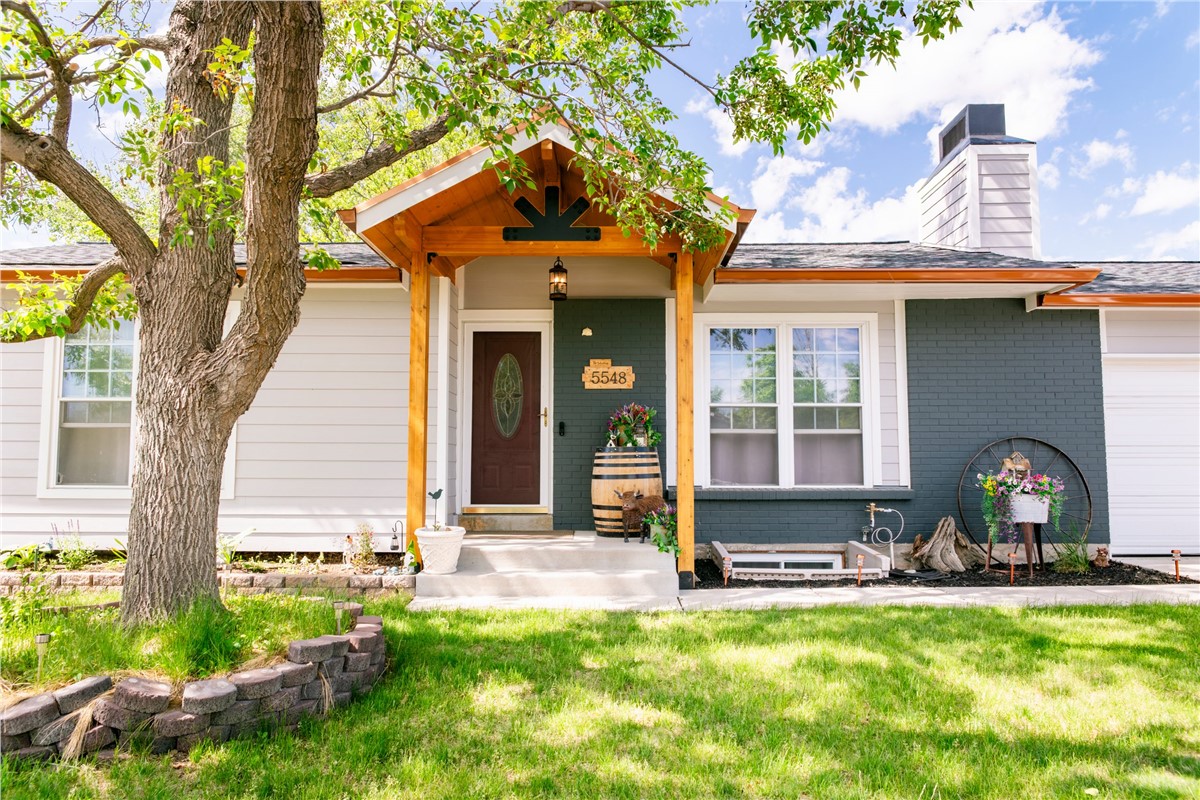
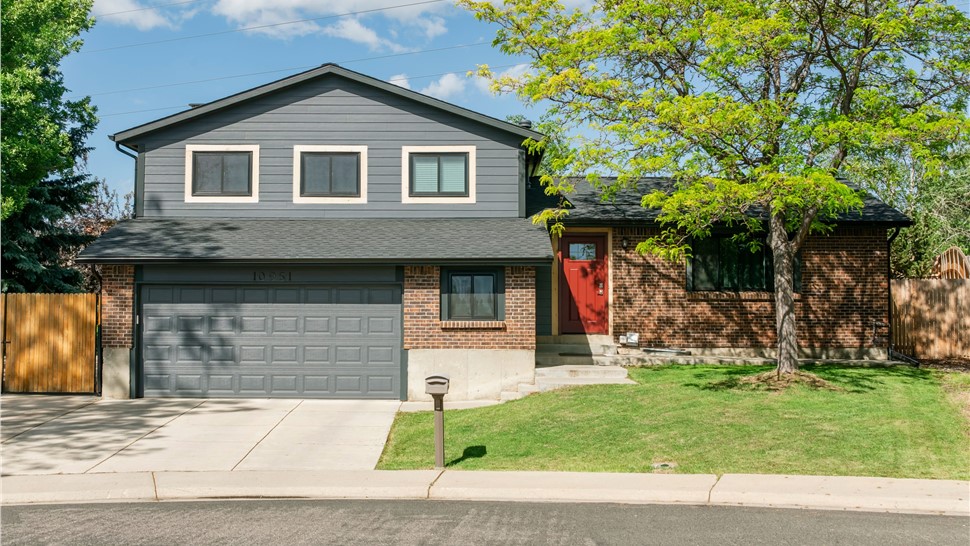
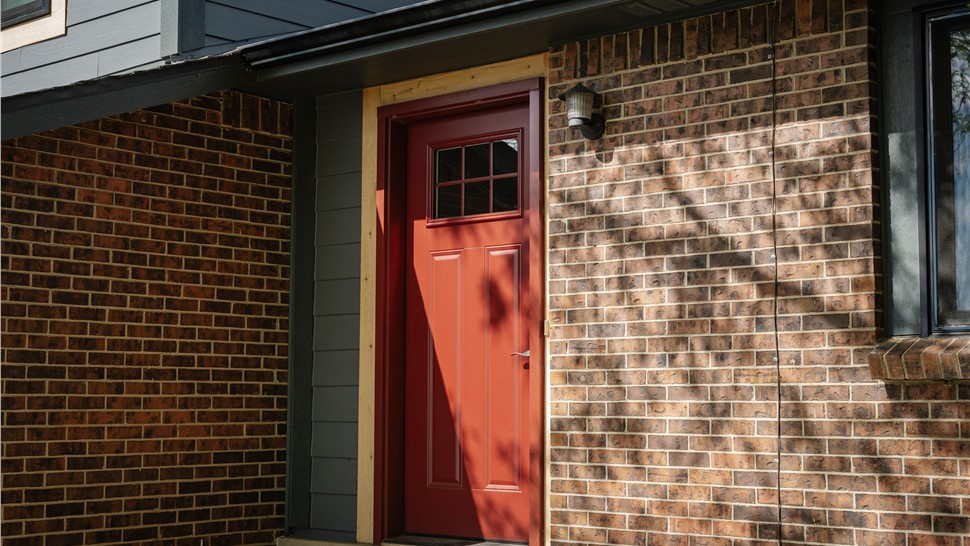
This siding, gutter, and roof replacement in Westminster, CO was taken on in pieces, but the result is a complete bottom to top transformation. Using intentional material and color selection, while maintaining existing design features such as the wooden trim, warm brick, and bold red entry door, the home now features, rather than blends into, its own character.
The home's original palette was quiet to a fault. Tan T1-11 siding ran across the whole exterior in a single flat tone, the brick veneer at the base read as a practical foundation rather than a feature, and the red front door and existing wood trim had little to contrast against. Dave and Joyce didn't want to lose any of that: the wood trim especially was something they'd asked to keep, piece by piece, rather than have it swept out with a full reside.
That preservation decision shaped everything that followed. WestPro worked from a plan marked up specifically for this home, identifying exactly which sections of the original wood trim were staying in place and which openings needed new Cedarmill trim in Iron Gray. James Hardie Horizontal Lap siding in Night Gray went on as the primary siding color, with the new Iron Gray trim, soffit, and fascia framing the windows and doors that got fresh material. On the roof, GAF ArmorShield II Class 4 shingles in Charcoal replaced the aging system above, and new 5" seamless gutters in Black finished the transition from roofline to ground.
Night Gray reads as a much deeper, more deliberate color than the original tan, and that shift is what makes the preserved elements do real work. Against a lighter, flatter siding tone, the wood trim, brick, and red door mostly disappeared into the whole. Against Night Gray, they stand out as the home's specific character rather than incidental leftovers: the wood trim reads as a genuine design choice, the brick reads warm instead of purely structural, and the red door becomes the home's clear focal point walking up from the street. The Charcoal roofline and Black gutters sit in the same cool, neutral family as the Night Gray siding and Iron Gray trim, so the two projects, done months apart, still read as one connected system from top to bottom.
None of that was an accidental consequence of doing the work in two phases. Instead, we used a phased approach to treat the home’s curb-appeal as a whole. It came from treating the original wood trim, brick, and red door as fixed points to design around from the start, rather than defaults to be replaced along with everything else. That's what let two separate projects, a season apart, land on a single, cohesive look instead of two different jobs stitched together after the fact.
Read More